OpenIndiana Installation walkthrough - Part 1
This is Part 1 of a series of posts explaining how to configure OpenIndiana as NAS storage device. The series is made up of the following parts:
- Background information about OpenIndiana and OS installation
- Network configuration and Setting up storage
- Presenting storage to your Hosts with iSCSI and/or NFS
- Performance testing
I have enjoyed using Nexenta Community Edition for a while – really I have. It is a great product, but there have always been a few annoying things that I could not get around.
- VMXNET3 support
- High CPU Usage
I have seen a number of posts from several sources on the benefits of ZFS and what it can do for your storage access. So I decided to try out OpenIndiana. Nexenta is moving over to Illumian.
From the What is Page:
Q: What’s the relation to the Nexenta Core Platform (NCP)? Is this still a “Debian user-space on top of an OpenSolaris kernel”?A: No, this is not Debian. Nexenta hopes that most former NCP users will find illumian to be even more useful than NCP was. There were many limitations on how much Debian familiarity could be maintained in NCP. Our experience with NCP taught us that what we really need is a useful collection of externally maintained packages, in versions that all work together. It hurt more than it helped to try to keep that set of versions in “lock step” with particular Debian versions. It turned out to be much more practical to instead keep “in step” (version wise) with that set of packages maintained in the illumos-userland gate.
Q: What’s the relation to the NexentaStor product?
A: NexentaStor is a commercial binary distribution built on top of the community-developed illumos and illumian projects.
From what I understand – I could very well be completely wrong – OpenIndiana is very similar to Illumos (which in turn is very similar to Opensolaris).
What do you get with OpenIndiana?
- ZFS – the last word in filesystems
- Zones – a Lightweight Virtualization Technology
- SMF – the Service Management Facility for software lifecycle control
- IPS – a next generation network based package management system
- FMA – the Fault Management Architecture
- COMSTAR – an enterprise SCSI target system supporting iSCSI/iSER/FC/FCOE
- Crossbow – a next generation fully virtualized high performance network stack
- DTrace – an extensive, deep diagnosis and debugging framework
- Boot Environments – transactional operating system upgrades with rollback
- Role Based Access Control – RBAC allows granting least-privilege access to processes and users
- IP Multipathing – IPMP provides high availability networking and greater bandwidth
- Integrated L3/L4 kernel mode Load Balancer
- Integrated VRRP IP failover facility
Lately I have seen more and more posts about the very nice performance one can achieve with a ZFS (if configured correctly), so I decided to try it out for myself – and of course document the process.
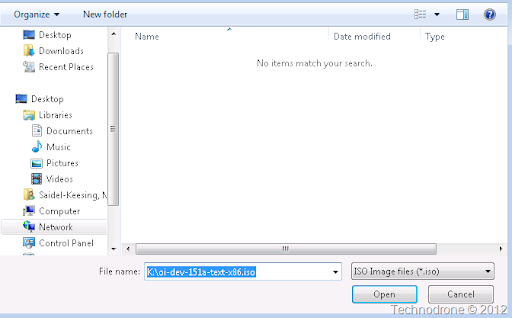
Download the ISO from here.
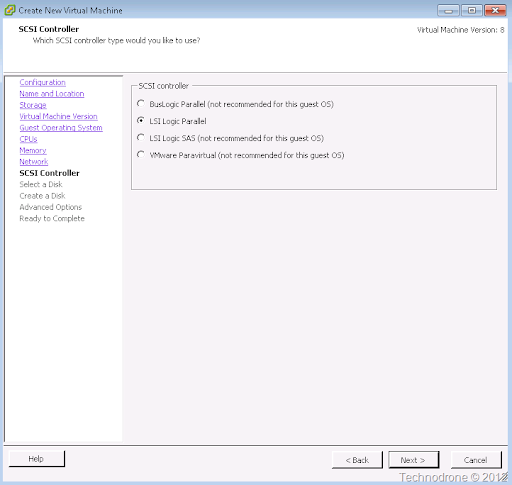
Create new VM with 4GB of RAM, 1 vCPU, a 12GB disk (LSI Logic Parallel) and 1 VMXNET3 vNIC
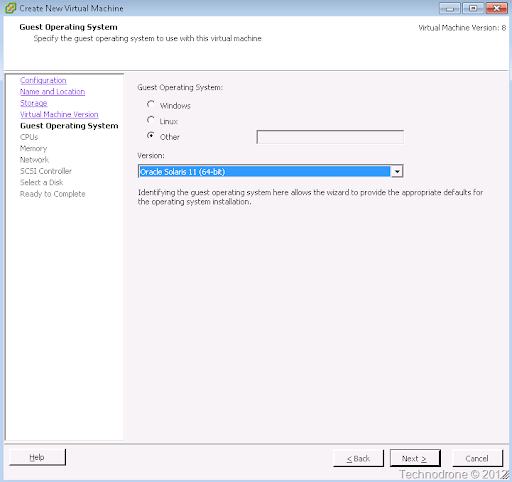
Set the OS to Other Linux – Open Solaris 64-bit, and boot your VM from the ISO.
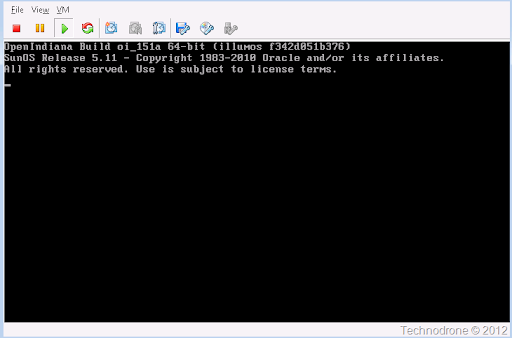
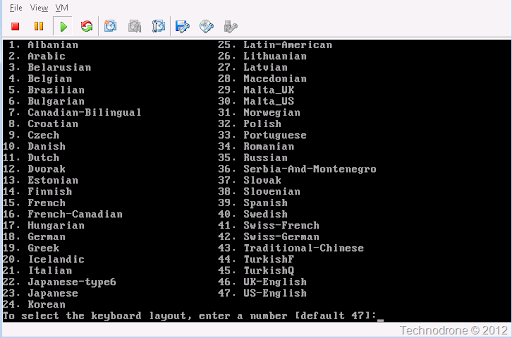
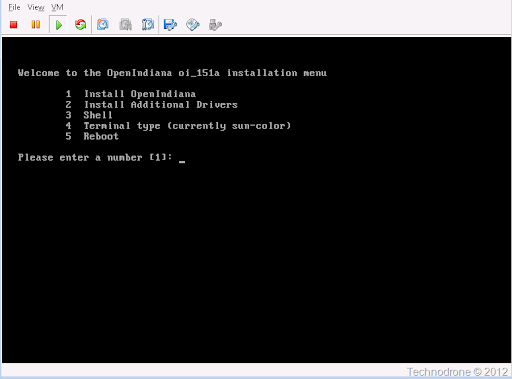
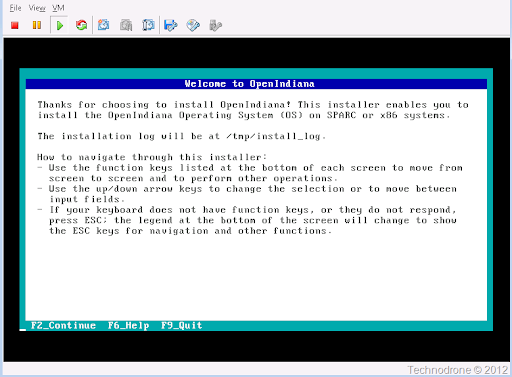
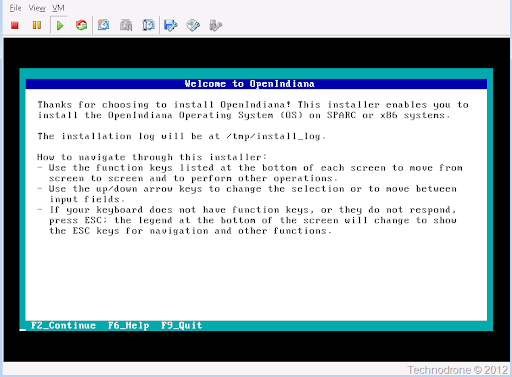
After the VM boots you will be prompted with some questions, keyboard layout, what you would like to do (Install OpenIndiana of course) and then comes the welcome screen.
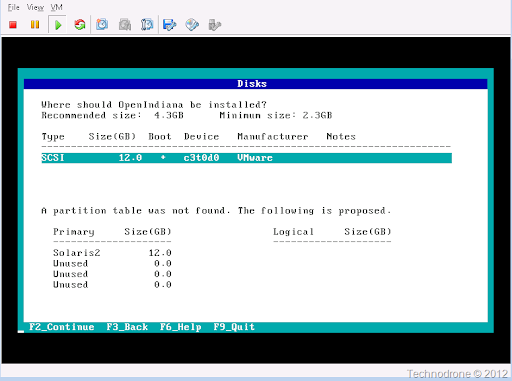
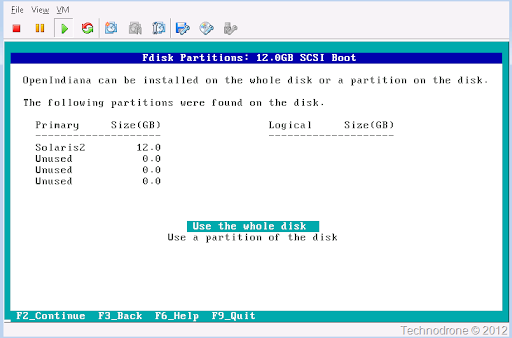
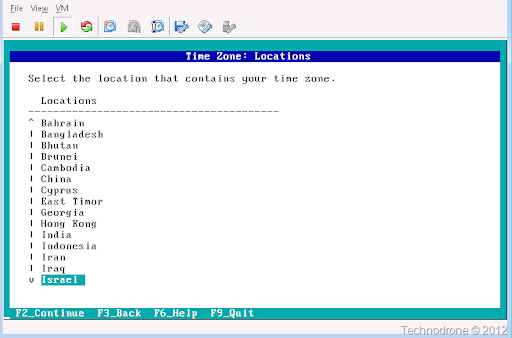
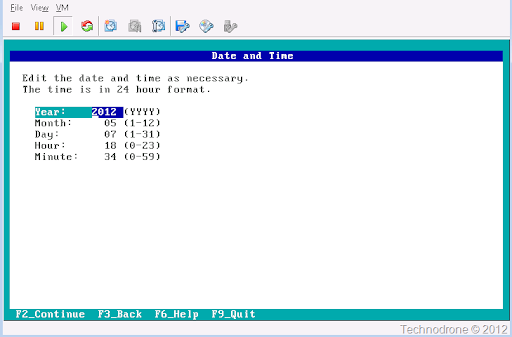
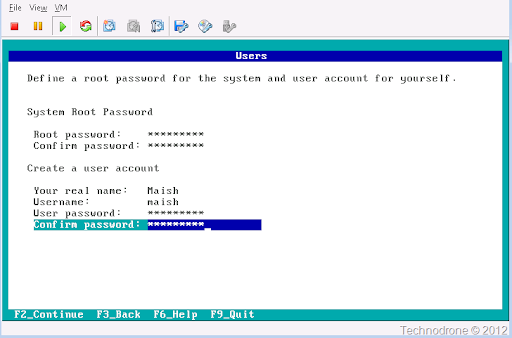
Choose the disk, and if you would like you can manually configure the partition layout, I just chose the default. Put in the hostname, Time Zone, change the date/time, and define your regular and root accounts and passwords.
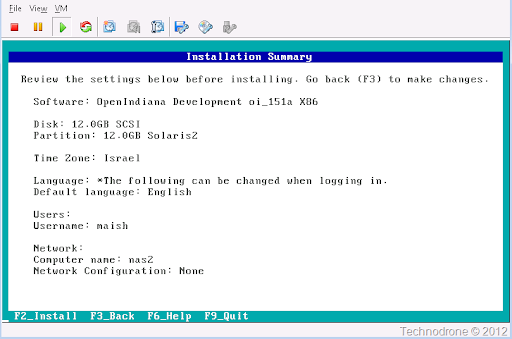
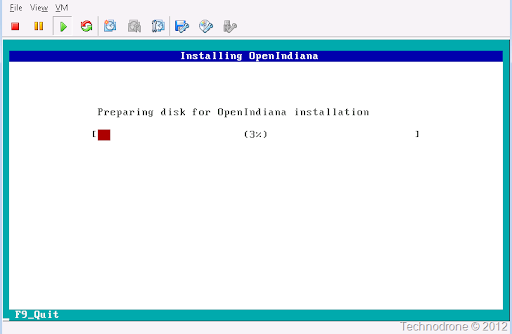
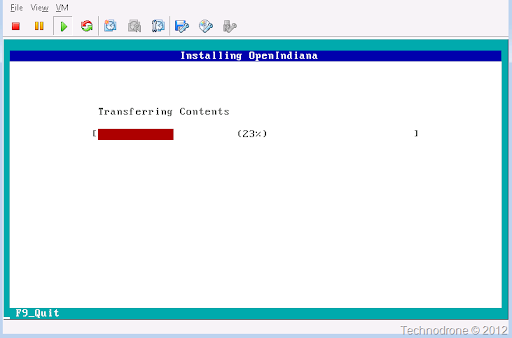
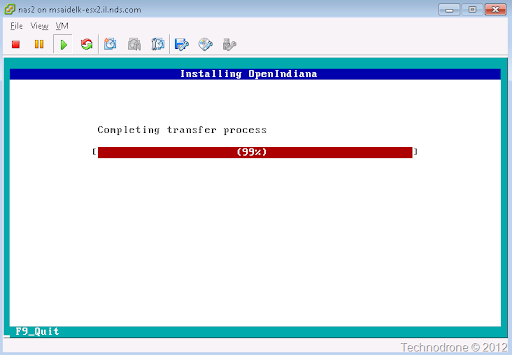
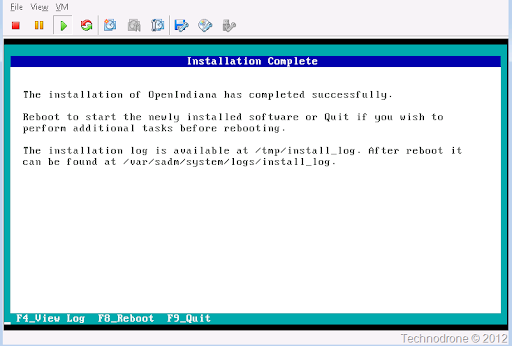
You are presented with a Summary and then sit back and wait for the installation to complete (~5 minutes)
Reboot
Enough for Part 1 – we will continue soon with Part 2 on how to configure networking, add disk space and add that to the operating system.

