Writing
Migrating the Blog Part - 2
This is part of a series of posts about how I completed the migration of my blog from Blogger to a self-hosted solution based on AWS S3.
- Part 1 - Decide on where to host the new blog and which platform I would use
- Part 2 - Export all the content out of Blogger and new blog design (This post)
- Part 3 - Import all the content into the new blog
- Part 4 - Fix up all the content issues
- Part 5 - Redirect all old content to the new site
Export content
The folks at Hugo have a set of tools that allow you to migrate your content out of your old platform which made my job a lot easier
Here is the process to export all your content from the Blogger format - into Markdown format - which is something you can use with Hugo
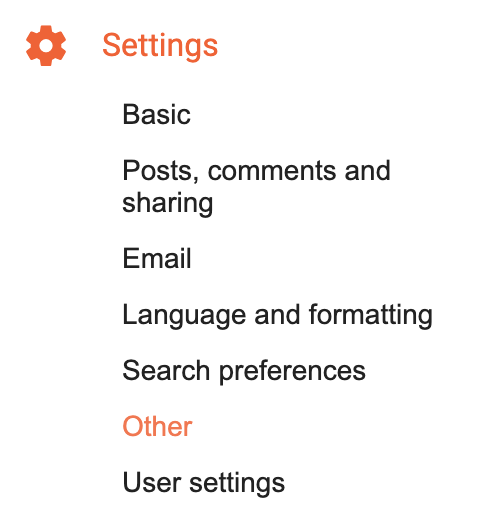
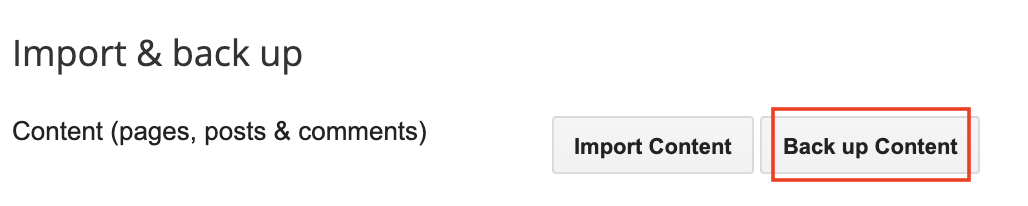
In your Blogger control panel go to Settings -> Other
Back up Content
And then Save to your Computer
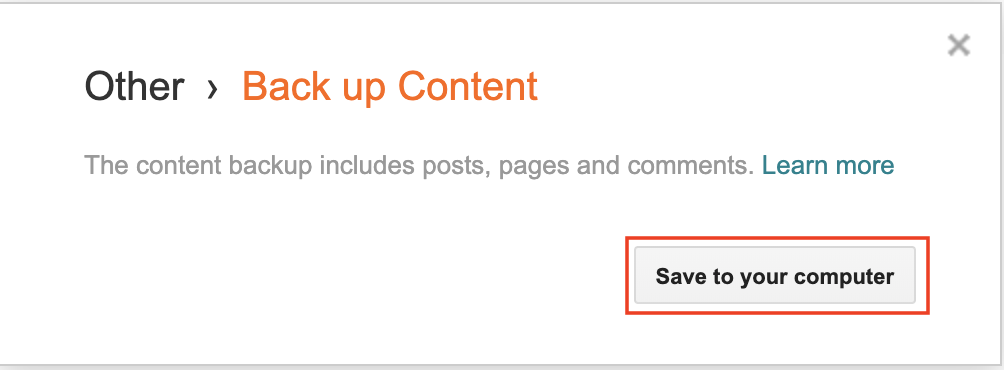
This will give you an large xml file that contains all the content from your blog. This includes the blog posts, the comments - the whole shebang.
My blog contained about 700 posts that I had accumulated over the years - so the file was quite large it was something like 7MB.
What does a blog post look like inside this file (not that it is really important - but just to give you an idea)
<title type='text'>The case of the my SSL cert – RTFM!!!!!</title>
<content type='html'><p>It took me a while to understand why this was not
working - it could be because I hate - actually loath -having to dig through
logs because of Java and Tomcat issues, but I only have my self to blame for
this one.</p> <p>I am currently installing a new <a href="http:/
/www.vmware.com/products/vcenter-server/" target="_blank">vCenter</a>
for my Production Environment (this is part of my <a href="http://
technodrone.blogspot.com/search/label/MJTV" target="_blank">MJTV series</
a> that I currently going through the process). The last time we installed -
we were just starting out with <a href="http://www.vmware.com/"
target="_blank">VMware</a> – and there have been a decent amount of
problems that we have encountered because of lack of experience and knowledge.
Therefore a new vCenter (not from scratch but that is another post entirely).&
lt;/p> <p>Fast forwarding a couple of years - the technology has
evolved - and I have gained more knowledge. So one of the things that were
never implemented correctly was an SSL Certificate for vCenter. I wanted to do
this right so I started out on what and how this should be done.</p> <
p>Firstly – this is the official VMware <a href="http://www.vmware.com/
files/pdf/vsp_4_vcserver_certificates.pdf" target="_blank">reference
document</a>. Since we are a Microsoft shop with a established PKI
Infrastructure I went to page 2 - <em>Replacing Default Server
Certificates with Certificates Signed by a Commercial CA. </em></p&
gt; <p>Ok so first things first. In order to create the Certificate
Signing Request (CSR) you will have to download the OpenSSL binaries from <a
href="http://www.slproweb.com/products/Win32OpenSSL.html" target="_blank">
here</a>. Since the vCenter is a 64-bit box – I got the <a href="http:/
/www.slproweb.com/download/Win64OpenSSL-0_9_8l.exe" target="_blank">64-bit
version</a>. Before installing the software you will need to download and
install I installed the <a href="http://www.microsoft.com/downloads/details.
aspx?familyid=bd2a6171-e2d6-4230-b809-9a8d7548c1b6">Visual C++ 2008
Redistributables (x64)</a> as well otherwise you will not be able to run
the binaries.</p> <p>I installed to it all to <strong>
C:\Program Files\OpenSSL. </strong>In the <strong>bin</strong&
gt; Directory of the installation folder are the files you will work with.</
p> <p>First you generate an RSA key for your host. </p> <p&
gt;<strong><span style="font-family:Courier New;"><span
style="color:#0080ff;">C:\Program Files\OpenSSL\bin&gt;</span>
openssl.exe genrsa 1024 &gt; rui.key</span></strong></p>
<p>A small pause here.I was looking for a simple, clean and minimalist theme. One that would not require a lot of time to invest into customization - I had already had enough of that with my previous design, a good number of years ago.
Hugo has a significant number of templates (or in Themes as they are appropriately called) which can pretty much suit almost anyones needs.
I settled on the Minimo theme. Clean lean, and exactly what I wanted.
I also wanted a new logo. My previous logo was selfed-designed (and it showed), and I decided to go shopping for a professional design as well.
There are a number of people who are more than willing to provide some decent work, for a minimal amount of money. So I went online - used fiverr, and came across Nancy - who did an amazing job, in a really short period of time.
I am very happy with the result!!
![]()
I made some minor changes to the config.toml file - to match the layout and feel I wanted (at least for the MLP) of this site - and if I want to improve - then I can iterate on the site and design.
Next up in Part #3, is importing the data into the new platform.