Landing your first OpenStack Contribution
In my previous post I showed you how to get your OpenStack git environment up and running by using a container.
In this post we will go through the steps needed to actually contribute code. This will not be a detailed tutorial on how to use git and gerrit, and its functionality, but rather a simple step by step tutorial on how to get your code submitted for review in OpenStack.
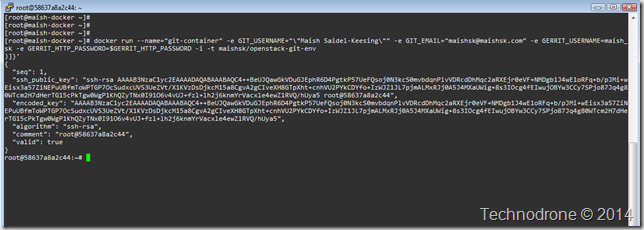
First we start up the container.
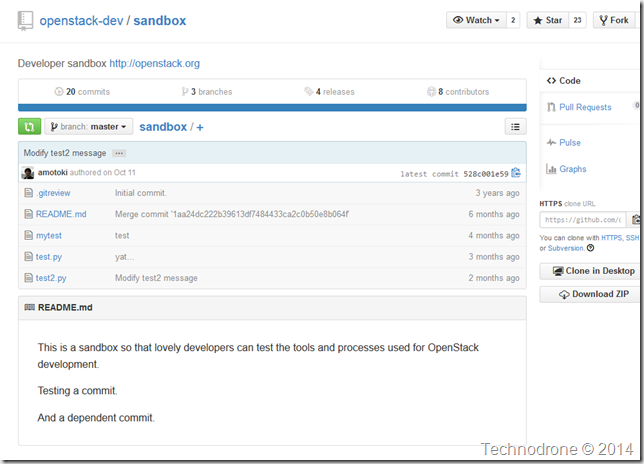
Since playing around with real OpenStack code is not a good idea when you are just learning – there is a sandbox repository where you can perform all your tests.
https://github.com/openstack-dev/sandbox
First things first we need to clone the repository so that we have a local copy of the files
git clone https://github.com/openstack-dev/sandbox
What this does is, you copy all the files in the repository to a folder of the same name under your current working directory. Depending on the size of the repo – this could take seconds or minutes.
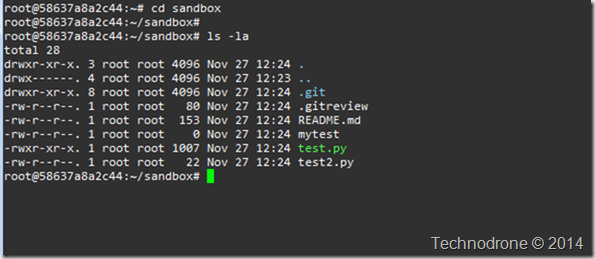
Enter the directory and look at the files.
{{ highlight zsh }}
cd sandbox
ls –la
{{ /highlight }}
You will see the files are the same as the those on the repository on the web.
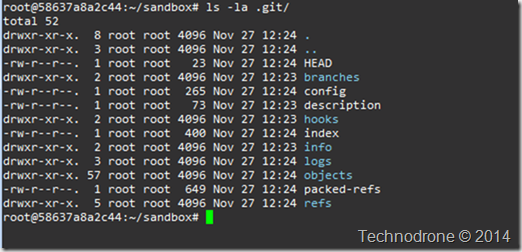
With the exception of one file the .git folder which is not visible on the github repository. This link will give you some more explanation as to what is in the folder.
Now make sure you have the latest code from Github.
{{ highlight zsh }} git checkout master git pull origin master {{ /highlight }}
Create a branch to do your work in that you’ll do commits from.
git checkout -b MYFIRST-CONTRIBUTION
Now we get to the changes.
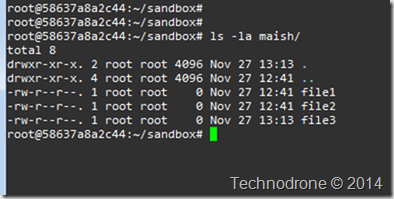
I am going to create folder named maish with two files inside, like the structure shown below
Here I just created empty files – but it could be correcting someone else’s code or adding new code, the process is the same.
Once you have completed your work you will need to add all the changes and push them back up to the original branch.
Add all the files and changes by running
git add .
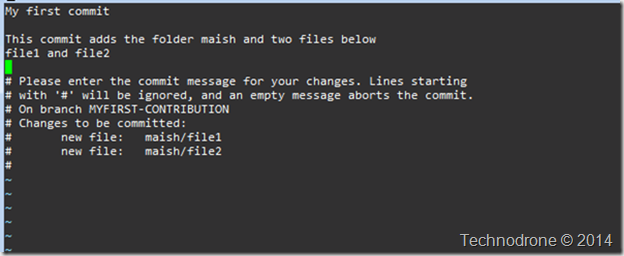
Next, you commit your changes with a detailed message (and you should really understand how to commit proper changes) that’ll be displayed in review.openstack.org, creating a change set.
git commit –a
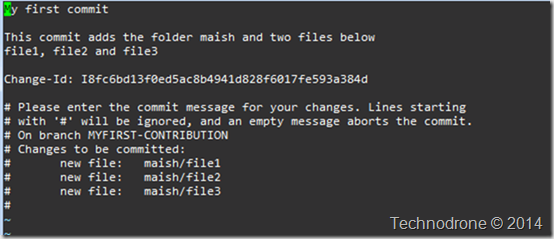
A VI editor will open were you now can add the reasons for your change and mention any closed bugs. Follow the conventions about git commit messages giving a good patch description, adding a summary line as first line, followed by an empty line, descriptive text, backport lines and bug information:
Save the file by typing :wq , and you will see that your files and changes were added.
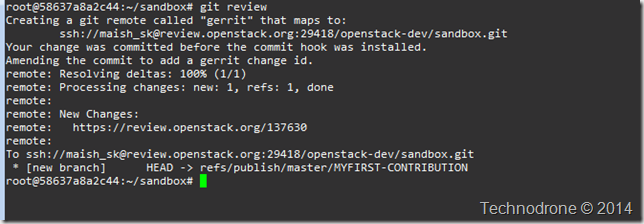
Set up the Gerrit Change-Id hook, which is used for reviews, and run git review to run a script in the /tools directory which sets up the remote repository correctly:
git review
You might be asked prompted to accept the SSH key, type yes.
If all goes you will see something similar to the output below.
Looking back at the github repo – you will not see any changes. You might ask yourself – where did my code go?
The reason you do not see any change – is that before any code is accepted in the master branch it has to be reviewed, both by an automated set of tests and also by humans.
So where did it go?
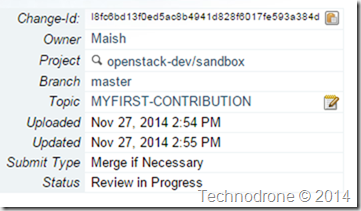
If you go to https://review.openstack.org/#/ you will see the change you just submitted
Clicking on the change will take you to the details where you can see the following:
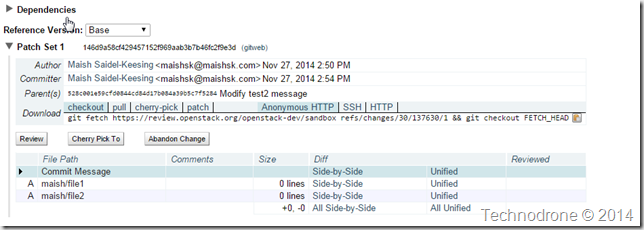
The change information.
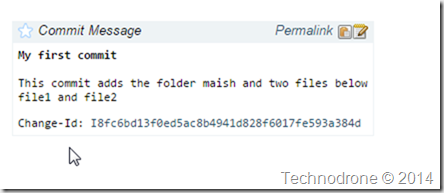
The commit message (you will notice that the Change-Id was automatically added)
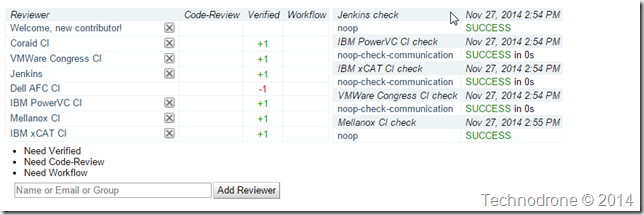
The status of the reviews and feedback. This could be an automatic test or an actual person who reviewed and left a comment.
Here are the files that were checked in.
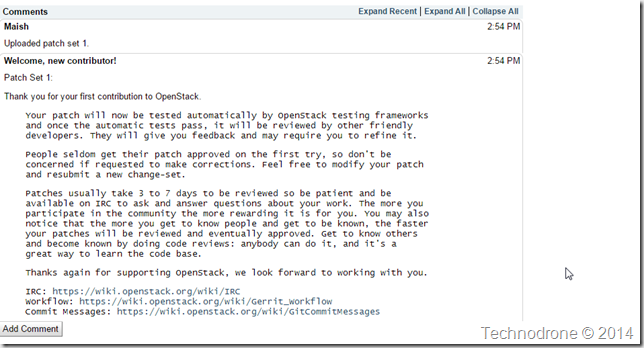
And the comments themselves
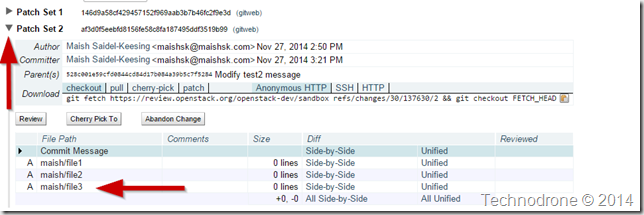
I can also make and additional change as well – this could be based upon feedback from one of the reviewers, a failed test, or any other reason. Here I added another file – file3.
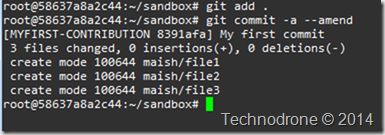
I need to add the changed files and commit them again – this time with a flag –amend. You can change the commit message.
{{ highlight zsh }}
git add .
git commit –a –-amend
{{ /highlight }}
And then push upstream.
git review
Going back to the web page you will see a few differences.
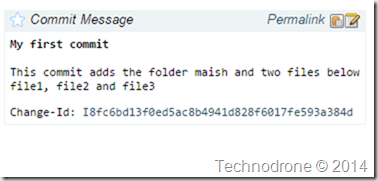
The new commit message.
And that the code is now added as a new patch set – i.e. a new version of the code.
One last thing.
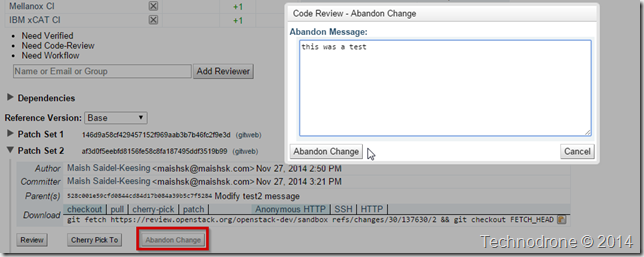
Since this is a sandbox – please keep it clean. That means when you are finished with your tests you should mark your commit as Abandoned.
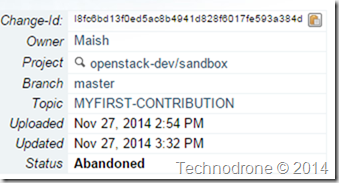
The status will change.
And this will change the status in you list of changes to Closed
I hope this was useful and will alleviate some of the concerns and people have with contributing code back into OpenStack.
Please feel free to leave your comments and feedback below.

