Start Contributing to OpenStack - The Easy Way docker
One of the most daunting and complicated things people find when trying to provide feedback and suggestions to the OpenStack community, projects and code – is the nuts and bolts of actually getting this done.
There are a number of tutorials around. The official kind - HowTo for FirstTimers, Documentation HowTo, Gerrit Workflow.
Scott Lowe also posted a good tutorial on Setting up the Tools for Contributing to OpenStack Documentation. But the process itself is still clunky, complicated and for someone who has never used git or gerrit before – highly intimidating.
That is why I embarked on providing a really simple way of starting to contribute to the OpenStack code. I was planning on writing a step-by-step on how exactly this should be done – but Scott’s post was more than enough – so need to repeat what has already been said.
Despite that there are still some missing pieces in there which I would like to fill in here in this post.
Before we get started there are a few requirements/bits of information that you must have, and some things that you need to do before hand - in order for this process to work.
They are as follows:
- A launchpad account
- An Openstack Foundation account. (
Use the same email address for both step 1 and step 2). - A signed Contributor License Agreement (CLA).
- A gerrit http password.
- Somewhere to run Docker (I wrote a post about this - The Quickest Way to Get Started with Docker)
Let me walk you through each of the steps.
1. A Launchpad Account
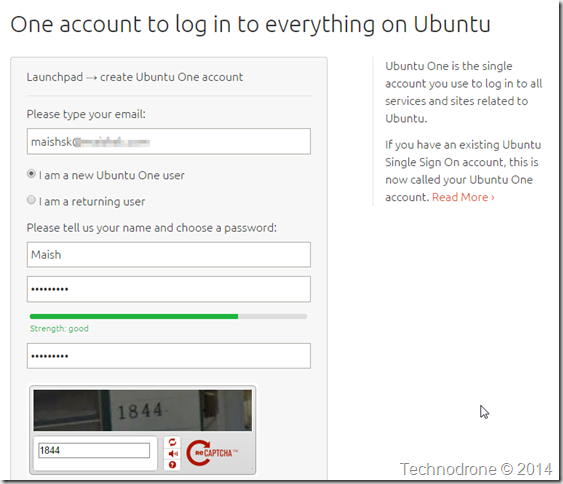
Sign up for a launchpad account – https://www.launchpad.net
Register for a new account – you will need to provide some information of course
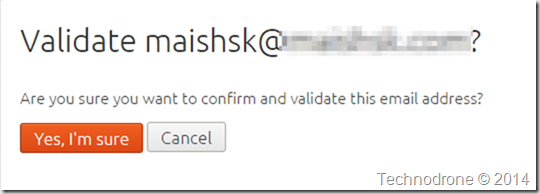
You will need to of course verify your email address. Go to your inbox and click on that link in the email you have received and validate your address
2. Join the OpenStack Foundation
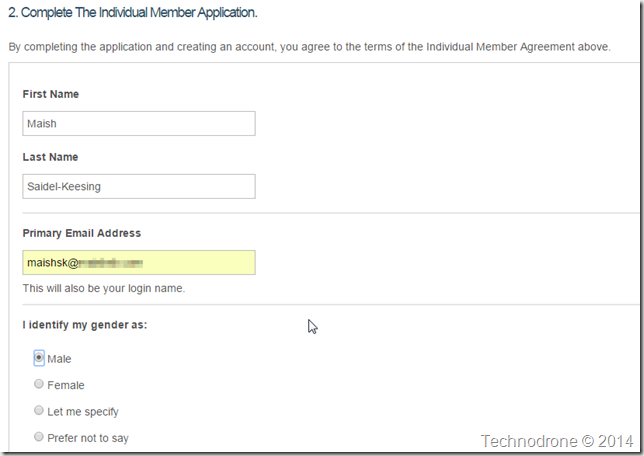
Sign up for an Openstack Foundation account – https://www.openstack.org/join
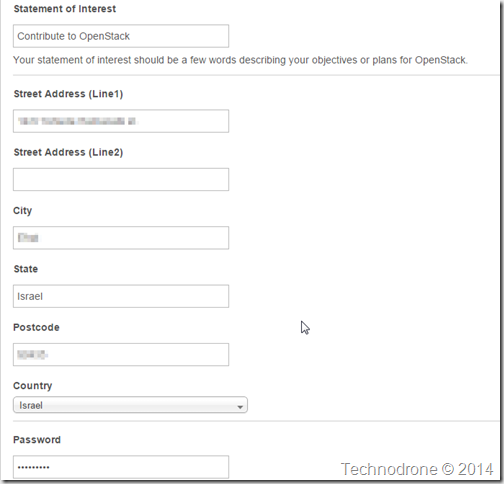
And fill in the details
Remember – use the same email address you used to sign up for the launchpad account.
3. Sign the CLA
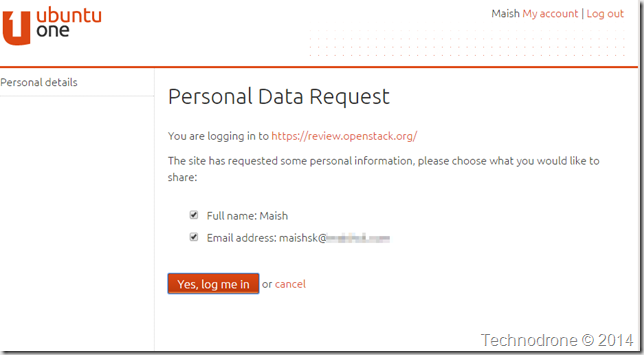
Go to https://review.openstack.org/ and sign in with your Launchpad ID (from Step 1)
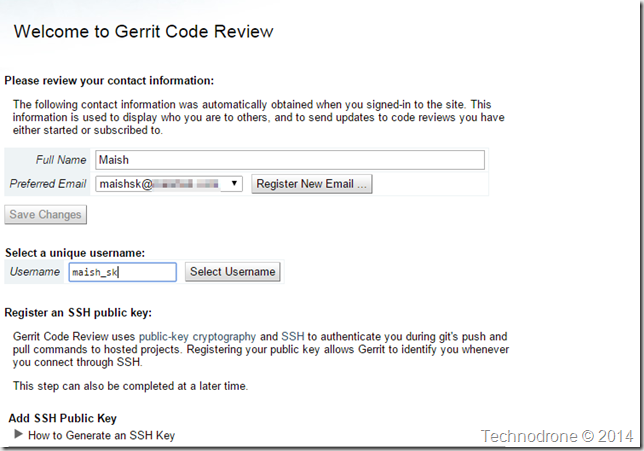
If you have not logged out of the Launchpad – you should be presented with a screen like the one below.
Some of the information will already be populated for you. You will need to choose a unique username.
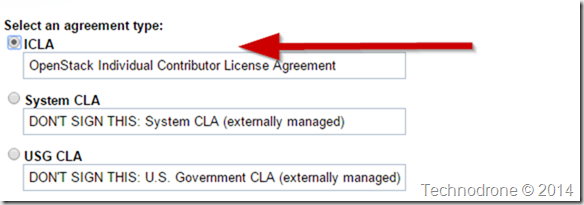
We will not choose an SSH key at the moment. Scroll to the bottom of the screen and choose New Contributor Agreement.
You should choose the ICLA
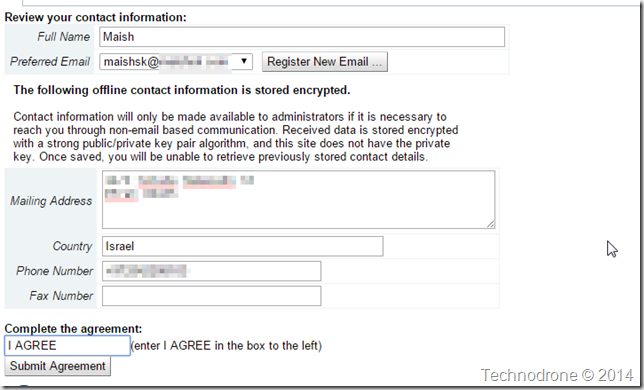
Review the agreement and understand what you are signing and then fill in the details below.
If everything is Kosher then you will be presented with the following screen to confirm
4. A gerrit http password
Remember the username you chose from the previous step? this is the one you should use.
On that same Settings screen, choose HTTP password and enter your username and Generate Password.
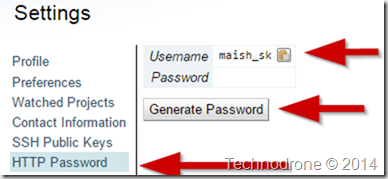
Don’t worry – the password has already been changed – the minute I published this post.
And we have finished all the registration and administrative things.
Just to recap – you will need these details for later (you need to replace them with your relevant details instead)
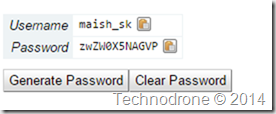
- Your Name – Maish Saidel-Keesing
- Email Address – [email protected]
- Gerrit Username – maish_sk
- HTTP Password - zwZW0X5NAGVP
Running the Container
Now that we have all the parts – it is really simple to get started.
The steps are as follows:
docker pull maishsk/openstack-git-env
This will retrieve the container from the Docker Hub. Once the container has been retrieved you can launch the container.
A few points to note beforehand.
- The container will always start a bash shell. The aim of this environment is to allow you to contribute to the OpenStack Project – so it has to be interactive.
- You have to provide 4 variable to the run command –
it has to be all four– otherwise the container will not launch. - The container will automatically upload an SSH key to gerrit – to allow you to connect and contribute your code upstream. It does not remove the SSH keys when done – this you will have to do manually.
The command to launch the container would is as follows – and remember you need to take the values from above.
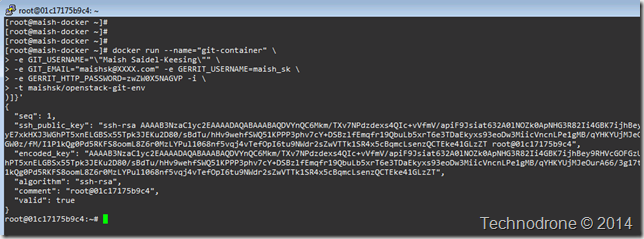
docker run --name="git-container" -e GIT_USERNAME="\"Maish Saidel-Keesing\"" \
-e GIT_EMAIL="[email protected]" -e GERRIT_USERNAME=maish_sk \
-e GERRIT_HTTP_PASSWORD=zwZW0X5NAGVP -i \
-t maishsk/openstack-git-env`
A few words about the variables
--name="git-container" – this is just to identify the launched container easily
-e GIT_USERNAME="\"Maish Saidel-Keesing\"" – the quotes have to be escaped "
-e [email protected] – Don’t forget to put in your real email address!
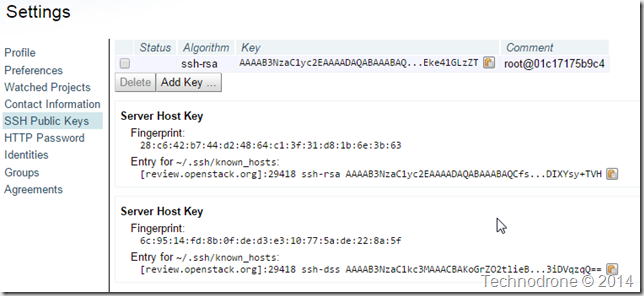
Once the container is launched – provided you have followed all the steps correctly and the variables are also correct - you will see some output printed to the screen with the SSH key that was just created and you will also be able to see that key in the gerrit web interface as well.
You can see that the comment on the web is the same as the hostname of the container.
Embedded below is a screencast of the launching of the container.
In the next post – I will show you how to actually contribute some code.
If you have any feedback, comments or questions, please feel free to leave them below.


